Filming/printing in DICOM Viewers: How it Works, Why it Matters, and Best Practices:
Introduction
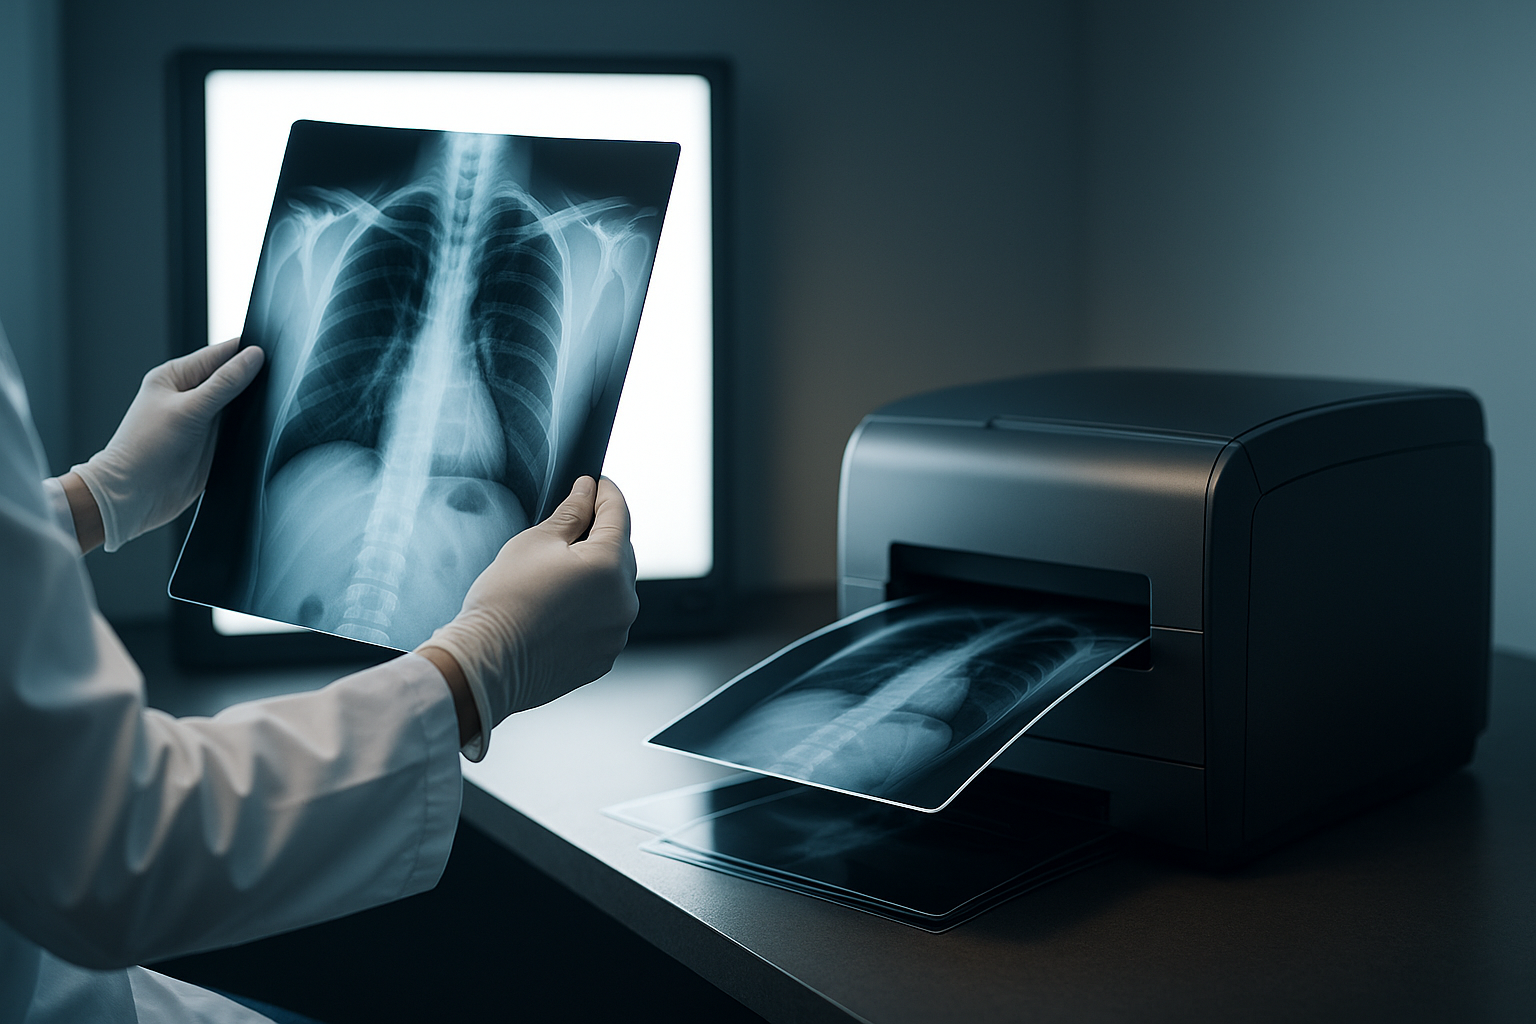
In many departments, filming/printing remains critical for clinical communication—whether sending a trauma patient to the OR with hard-copy films, producing legal documentation, or preparing referral packets where calibrated screens aren’t available. Modern DICOM viewers don’t simply “dump images to paper”; they implement the DICOM Print Management Service Class, which specifies how a workstation (the print SCU) talks to a dry laser imager (the print SCP) to create calibrated, layout-correct film sheets. Understanding the standard—and the controls exposed in a viewer—helps you produce predictable, high-quality output and avoid costly mistakes.
1) The DICOM Print building blocks (what your viewer actually does)
Your viewer uses DIMSE commands (e.g., N-CREATE, N-SET, N-ACTION) to build that session/box hierarchy on the imager, push the images, apply a Presentation LUT if supported, then queue the job on the printer. These roles and objects are defined across DICOM PS3.4 (service & workflow) and PS3.3 (IODs). Two “meta” sets exist: Basic Grayscale Print Management and Basic Color Print Management; a conformant system declares which it supports in its Conformance Statement.
2) Layouts, scaling, and what can go wrong
A Film Box declares the sheet size/orientation (e.g., 14×17 portrait), plus the matrix (e.g., 2×2, 3×3). Each Image Box receives one image, and the magnification/smoothing rules determine how pixels are scaled into that cell. If a viewer ignores aspect ratio or applies a crop without telling you, anatomy can be distorted—disastrous for measurements. Modern viewers expose magnification type, smoothing type, trim/border density, min/max density, copies, and destination (e.g., magazine/processor) so you can match site policy and device capability.
>Best practice: lock aspect ratio; prefer interpolation modes that preserve edge integrity for your modality and printer; preview imposition before spooling.
3) Tonal accuracy: Presentation LUT and GSDF
Film imagers have characteristic curves; without calibration, identical pixels won’t produce identical optical density across devices. Presentation LUT maps image values to device output so that tonal response is consistent—often aiming at the DICOM Grayscale Standard Display Function (GSDF) used for calibrated monitors. Many imagers support a Presentation LUT Shape (e.g., IDENTITY vs LIN OD) or a referenced LUT instance. Your viewer will either push an explicit LUT or reference a LUT on the device, ensuring what you preview is what you print.
4) Content fidelity: overlays, annotations, and PHI
Historically, print pipelines mixed burned-in text (modality labels) with overlays or GSPS (Grayscale Softcopy Presentation State). On film, everything becomes pixels. Decide deliberately: do you want clean images with a margin annotation (patient name, study description, window/level), or burned-in labels on each cell? DICOM provides an Annotation Box IOD for sheet-level text and a Presentation LUT path for consistent tone. Your viewer should preview annotations exactly as they will print, and—crucially—warn when an overlay risks obscuring findings.
5) Color vs grayscale, and when to use which
Basic Grayscale Print covers the vast majority of CT/MR/CR/DX output. Basic Color Print is appropriate for true-color modalities or colorized PET/functional maps. Check the imager’s Conformance Statement: some devices emulate color by internal LUTs rather than native color channels, which can shift hues. Validate with real test sheets before clinical rollout.
6) “Filming/printing” to paper or PDF (softcopy)
In many sites, filming/printing now means paper or PDF—for patient handouts, surgical packets, or legal copies—while diagnostic review remains softcopy on calibrated displays. A good viewer therefore offers a DICOM-aware print path (for true film imagers) and a paper/PDF compositor that preserves true size (mm) when needed, respects Pixel Spacing, and warns if the target printer DPI can’t honor scaling. This path is distinct from “screenshot printing”; it should render from pixel data with clinical layouts, legends, and window/level metadata.
7) Workflow integration, status, and error handling
Viewers should display printer status (online, out of media), queue state, and per-job errors. In DICOM, a “Print Job” object and the Printer object report status; your workstation can poll those to decide whether to retry or fail. On the network side, treat imagers like any DICOM node: protect with TLS if supported, and limit who can submit jobs.
IHE relevance: Printing touches broader workflow only lightly, but integration documents remind vendors to declare roles and secure endpoints; check your enterprise IHE/RAD profile set.
8) Quality assurance (QA) for filming/printing
– Device media: keep film media consistent; switching vendors can change density/contrast.
– Calibration cadence: re-run printer calibration or verify with step wedges after maintenance.
– True size: verify a known object (phantom ruler) prints at physical 1:1 if your use case demands it.
– Layout QA: maintain standard templates (e.g., CT abdomen 2×2) and lock them to reduce variability across sites/readers.
– Archival record: store the electronic state used for printing—e.g., save a GSPS, or export a layout PDF to the archive—so what was printed can be reconstructed or reprinted.
9) Legacy, retirements, and modern practice
Some early DICOM “stored print” directory record types were retired long ago; today, the live Print Management workflow (PS3.4/PS3.3) is the path vendors and imagers implement. If you inherit legacy media or directory structures, check the current edition and change proposals to understand what still applies and what has been retired.
10) Printing in XEUS:
In XEUS, the filming/printing pipeline is engineered to feel and behave like the imaging device’s native workstation—while adding a cleaner UI, stronger safeguards, and faster day-to-day operation.
– Workstation parity (device-like behavior): Default film layouts, magnification/smoothing rules, and density parameters mirror common modality workstations. You can save them as presets so the final sheet matches what clinicians expect from the device.
– True WYSIWYG preview: Before spooling, XEUS shows exactly what will be printed—Film Box/Image Box placement, annotations, scale bars/captions, and any Presentation LUT—with warnings for aspect-ratio changes or insufficient printer DPI.
– Tonal control and calibration: Support for Presentation LUT / LUT Shape aligns printed optical density with your calibrated previews. Device profiles keep grayscale and contrast predictable across media and imagers.
– Annotation/overlay awareness: Choose between “clean images + margin annotations” or burned-in labels; XEUS flags overlays that could obscure anatomy and preserves readability across tonal ranges.
– Dual output paths:
- DICOM Print for dry-film imagers (standards-compliant sessions/boxes/LUTs).
- Paper/PDF compositor that preserves true size (mm) and respects Pixel Spacing—ideal for surgical packets, referrals, or legal documentation.
– Security and compliance
– Queue and error handling
– Multi-device profiles
– User-friendly by design
– Reproducibility and archiving
Bottom line: XEUS delivers fast, familiar, and secure printing that closely matches device-workstation output—while giving your team more control, fewer clicks, and printouts you can trust.
for more information: https://academy.minnovaa.com/mod/page/view.php?id=15
References:
-
DICOM PS3.4 — Print Management Conformance & Meta SOP Classes (Basic Grayscale/Color Print Management; required/optional SOPs). DICOM Standards+1
-
DICOM PS3.4 — Print Management SOP Class Definitions (DIMSE services like N-CREATE/N-SET/N-ACTION; Film Box/Image Box/Annotation/Presentation LUT interactions). DICOM Standards+1
-
DICOM PS3.3 — Information Object Definitions (Basic Film Session, Basic Film Box, Basic Image Box, Annotation Box, Print Job, Printer, Presentation LUT IOD modules). DICOM Standards+1dicomstandard.org
-
DICOM PS3.4 — H.3.2.2.1 Basic Grayscale Print Management Meta SOP Class (set of SOPs: Film Session/Box, Image Box, Printer). DICOM Standards
-
DICOM PS3.4 — H.4.9 Presentation LUT SOP Class (goal, linkage to PS3.14 GSDF). DICOM Standards
-
DICOM PS3.14 — Grayscale Standard Display Function (GSDF) (standardized display function for consistent grayscale across monitors/printers). DICOM Standards+1
-
Evidence review of GSDF calibration (medical-grade displays; relevance to printing consistency). PMC
